If you have received an EncryptTitan welcome message, your base EncryptTitan account has been created, however, there are additional steps that you will need to take in order to begin encrypting messages.
Please follow the steps below to ensure that you are ready to start encrypting messages.
1. Login to the EncryptTitan Portal
Log into the EncryptTitan portal by pointing your browser to https://access.encrypttitan.net and using your credentials to log into the portal.

MSP Profile
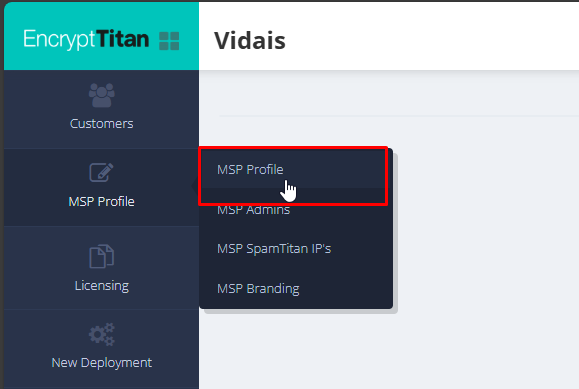
2. Complete your MSP profile, add additional Administrators, and define your SpamTitan IP Addresses.
Click on the MSP Profile Tile and then the MSP Profile and complete your profile.
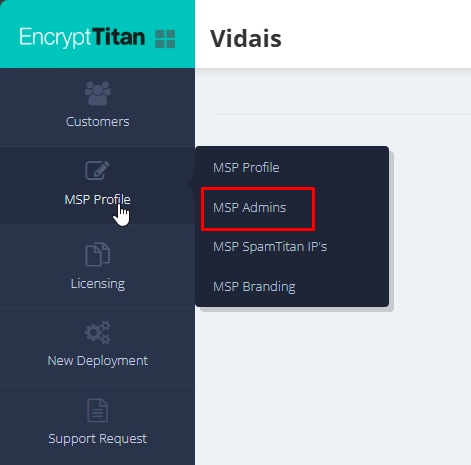
3. Need to add additional Admins?
|
Click on the Admins menu item if you need to add additional Administrators to your account.
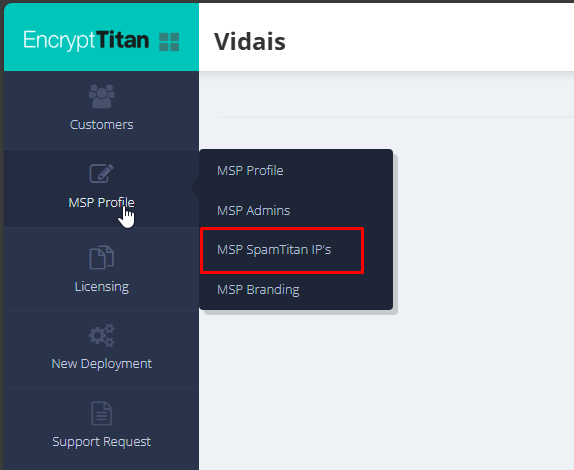
4. Sending your Outbound email though a SpamTitan device?
If you will be sending outbound email to EncryptTitan though SpamTitan, click on the MSP SpamTitan IP's Tab and enter the global IP Addresses for your SpamTitan appliance or private cloud.
If you will be sending your outbound mail though an email service such as Microsoft 365, Google Workspace or any other email service, including an on-premise server, you can skip the step.
Licensing
5. Check to verify your EncryptTitan licenses.
Click on the Licensing Tile and verify that the quantity of license purchased is reflected in the licensing view.
 |  |
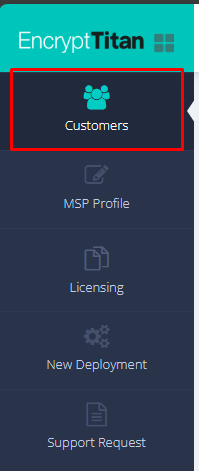
Customers
6. Next, click on the customer tile for a summary view.
 |  |
7. Then, click on the customer name to view the current configuration for the customer.
Customers/Profile

8. Complete the profile for the customer (this is an optional step).
Customers/SPF DKIM

9. Click on the SPF/DKIM Tile.
If there is an error symbol next to the SPF/DKIM menu item, then we are not able to verify that the required DNS records are in place.
Click on the "more info" links, next to the error symbol, to view a KB article related to the specific record that we can not validate.
Do not skip this step as it will impact the deliverability of messages sent though EncryptTitan where TLS-Verify is used as the delivery method for a secure message.
Customers/Domains
10. If you need to add additional domains, click on the Domains tile (this is an optional step).
Customers/Users
11. Add the users that will be licensed for encryption. Please note that messages sent from users not listed will not be eligible for encryption.

Customers/Outbound Servers
12. Select the outbound servers that will be relaying messages to the EncryptTitan service.
Please click on the link provided for additional recommendations on how to complete the outbound server configuration.
Do not skip this step as it will impact the ability for EncryptTitan messages.

Customers/Branding
13. By default, the EncryptTitan brand will be used unless a customer brand is created. If you wish to create a custom brand for the customer, select the radio button for "Create Customer Brand". (this is an optional step).

A) The Brand Name text field defines the name displayed for your Secure Portal
B) Upload a Secure Portal Image to be displayed on the Secure Portal Login Page.
C) Upload an Email Notification Image to be displayed on notification messages sent to secure portal message recipients.
D) Upload a Favicon/Bookmark image; this image is optional.
E) Customize the background color and text displayed in the footer of messages secured using TLS-Verify.
Customers/Policies
14. Define your Keyword and DLP encryption polices. Please note that Data Loss Prevention Polices (DLP), will only be available to customer that have EncryptTitan DLP license assigned.
In the even that a policy, outside the scope of the predefined polices, is needed, please contact your account representative.
Was this article helpful?
That’s Great!
Thank you for your feedback
Sorry! We couldn't be helpful
Thank you for your feedback
Feedback sent
We appreciate your effort and will try to fix the article